WDS PXE network boot images use for OS directly installed on a target computer.
WDS is a server role that gives network administrators the ability to deploy Windows OS remotely. WDS can be used for network based installations to set up new computers so network administrators do not have to directly install OS.
BIOS settings in a select first priorities PXE boot option. Another think Boot time you can select PXE network boot option. Also enabled the network boot option in a bios setting.
To configure PXE boot in Windows Server 2016, 2019 and 2022, you need to follow these steps:
Step 1 – Server Manager open and click on the Add Roles and Features.
Step 2 – Before you begin option in a select the Next button.
Step 3 – Installation Type in a select Role-based or feature based installation..
Step 4 – Server selection in a select the server pool.
Step 5 – Server Roles in click on the WDS option.
Step 6 – Click on the Group Policy Management option.
Step 7 – WDS option is available click to next button.
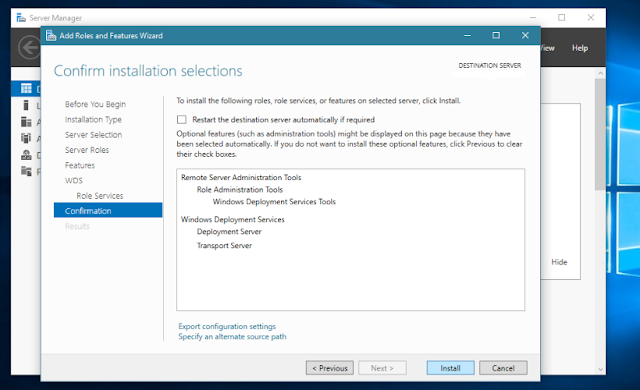
Step 8 – WDS option in a select the Deployment server and Transport server.
Step 9 – Then click to conformation option.
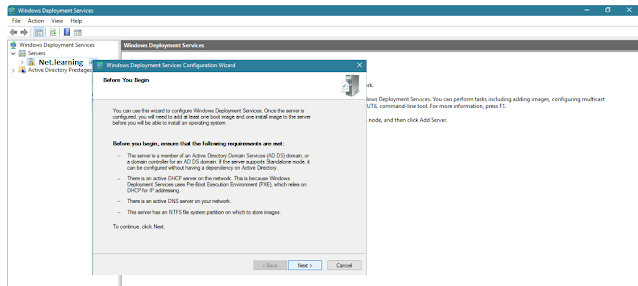
Step 11 – Server Manager tools menu in a select the WDS option.
Step 13 – WDS installation option in a select integrated with AD.
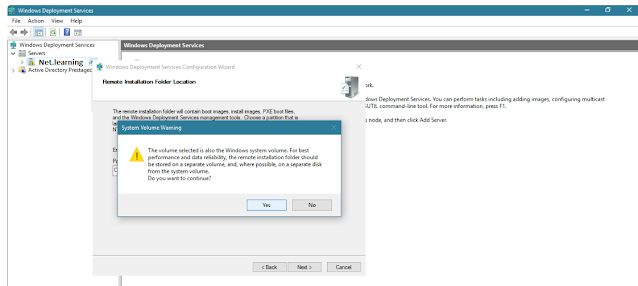
Step 14 – Installation folder location in a select the image path.
Step 15 – Click on the Yes button.
Step 16 – PXE server initial settings click to next button.
Step 18 – Windows image location the DVD D: drive
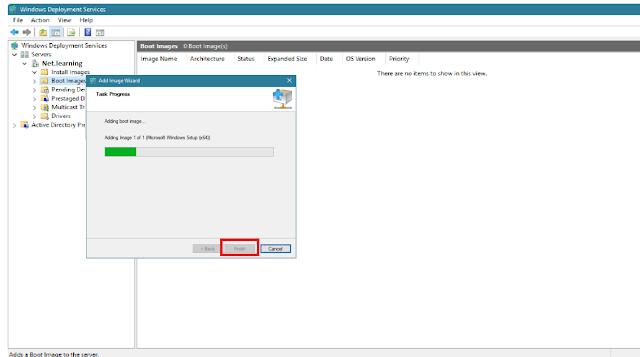
Step 19 Boot images in a select the boot.wim option.
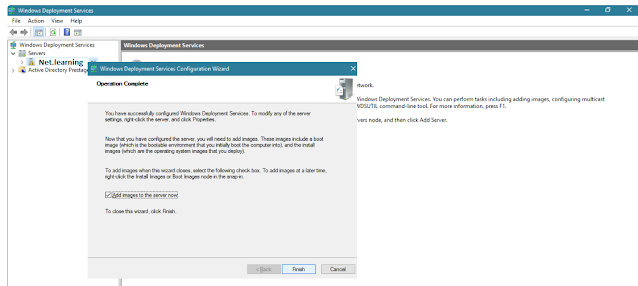
Step 21 – After click on the finish button.
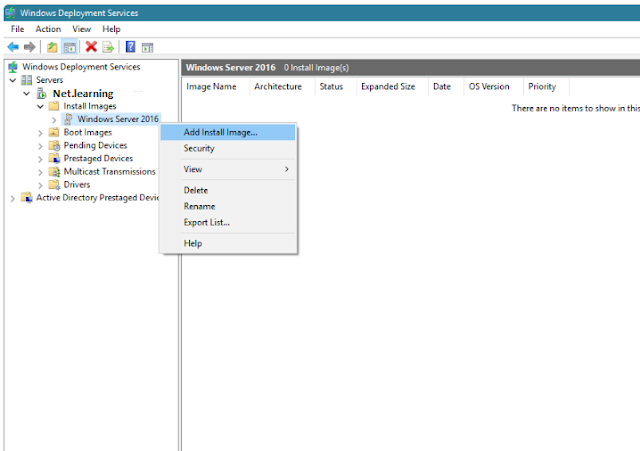
Step 22 – Install images option in a select the add install image button.
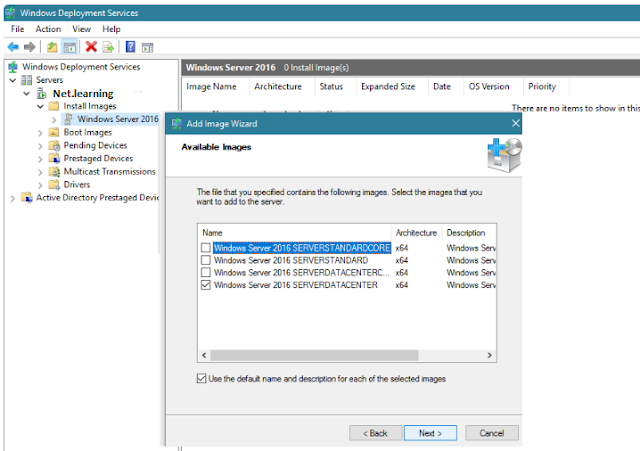
Step 23 – After boot image location in a select the install.wim option.
Step 24 – Add image wizard option in a select the windows server name.
Step 26 – All process has been completed after click on the finish button.
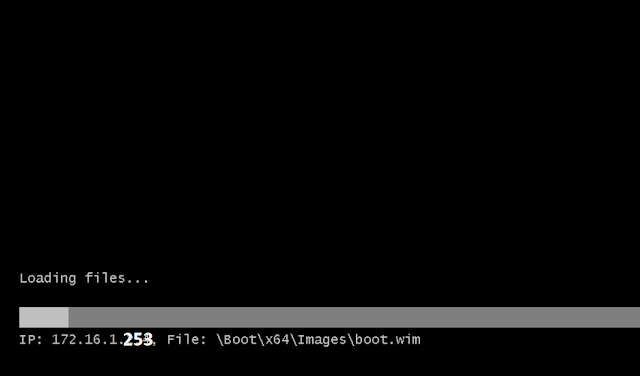
Step 27 – Any computer in a first enabled the network boot option. Then after this type image shown on the computer. This IP is a your server boot image.
This process completed after you can use the your selected OS. With out pendrive boot you can use the windows OS. Currently IT market in a most of using the WDS boot option.














1 Comments
Great!
ReplyDelete